Install a Kubernetes cluster with Cilium, CRI-O, Traefik and MetalLB
Mosibi-Kubernetes
Mosibi-Kubernetes is set of Ansible roles which creates virtual machines and installs Kubernetes on top of it using the roles infrastructure and kubernetes. I created this project since I often need a fully (enterprise ready/alike) cluster where I can run my labs on. Of course there are tools like Minikube which also create a Kubernetes cluster in a short time for you, but those are primarily focussed on running k8s workloads and my labs are often more related to the infrastructural part of a Kubernetes cluster like networking and storage and therefor I often need a full blown cluster.
Infrastructure
The infrastructure role creates virtual machines using Terraform and Libvirt and deploys them with CentOS 8.3. For the operating system image a CentOS cloud image is used and at boot time it is configured using cloud-init, which enables us to add packages and a user which will be used to handle the Ansible connection.If you want more details about the Terraform/Libvirt combination, read my blog post that I wrote about that topic.
Kubernetes
The kubernetes role installs Kubernetes on a set of machines and can use the machines created by the infrastructure role, the only coupling between those roles is that the infrastructure roles creates the inventory file with all the right options, so that it is immediately usable by the kubernetes role. When the installation is done, you will have a Kubernetes cluster with the following installed:
- CRI-O: Container runtime engine. Optional it is also possible to use Docker as a CRE
- Cilium: Cilium provides secure networking and uses eBPF to enforce policies and replaces the need for kube-proxy.
- Traefik: Traefik is a HTTP reverse proxy and load balancer that makes deploying microservices easy
- MetalLB: MetalLB is a load-balancer implementation for bare metal (and virtual) Kubernetes clusters, using standard routing protocols.
Use mosibi-kubernetes
As the first step, clone the mosibi-kubernetes repository and look at the files group_vars/all/infrastructure.yml and group_vars/all/kubernetes.yml which contain settings from the various roles and if needed, change them. The README files from the sub-roles beneath the infrastructure and kubernetes role will show the default values and the possibilities to configure your environment.
Install the virtual nodes
In this step which is optional, the virtual nodes are installed. Before executing this step, check if you are happy with the settings in the group_var files and when you are(*), execute the playbook playbook-install-infrastructure.yml as follow.
$ ansible-playbook -i localhost, playbook-install-infrastructure.yml
The comma after localhost is not a mistype, that is a trick to enter one or more hostnames at the command line which will be taken as a inventory.
The playbook will run for some time, it takes a few minutes on my laptop and when it is done, you should have a list of virtual machines which you can check with virt-manager or virsh
$ sudo virsh list

 Id   Name          State
-----------------------------
 6    k8s-master1   running
 7    k8s-control   running
 8    k8s-worker2   running
 9    k8s-worker1   running
 10   k8s-worker3   running

*) The nodes will request an ip address using DHCP and since we are also using MetalLB with a address range from the same pool, it is wise to change the DCHP pool of the default libvirt network with sudo virsh net-edit default. Change for example the end address from 192.168.122.254 to 192.168.122.239.
Prepare the control node
The control node is the node from where the Kubernetes installation is executed and it needs some extra packages which are used during the Kubernetes installation process. This can be your workstation, but I prefer a separate node for that, so that my laptop is not tainted with extra packages and configuration settings.
$ ansible-playbook -i inventory playbook-prepare-controlhost.yml

Install Kubernetes
Execute the Kubernetes installation from the control node, rather this is your workstation or a separate control node
$ ansible-playbook -i inventory playbook-install-kubernetes.yml

After the Ansible playbook is done, the installation of certain containers on the cluster will still be running, this will take a few minutes to complete, depending on your hardware and internet speed. The status of the nodes and pods can be shown with the commands kubectl get nodes and kubectl get pods -A.
[richard@k8s-control mosibi-kubernetes]$ kubectl get nodes -o wide
NAME          STATUS   ROLES                  AGE   VERSION   INTERNAL-IP       EXTERNAL-IP   OS-IMAGE         KERNEL-VERSION                CONTAINER-RUNTIME
k8s-master1   Ready    control-plane,master   18m   v1.20.1   192.168.122.23    <none>        CentOS Linux 8   4.18.0-240.1.1.el8_3.x86_64   cri-o://1.20.0
k8s-worker1   Ready    <none>                 18m   v1.20.1   192.168.122.224   <none>        CentOS Linux 8   4.18.0-240.1.1.el8_3.x86_64   cri-o://1.20.0
k8s-worker2   Ready    <none>                 18m   v1.20.1   192.168.122.59    <none>        CentOS Linux 8   4.18.0-240.1.1.el8_3.x86_64   cri-o://1.20.0
k8s-worker3   Ready    <none>                 18m   v1.20.1   192.168.122.207   <none>        CentOS Linux 8   4.18.0-240.1.1.el8_3.x86_64   cri-o://1.20.0

[richard@k8s-control mosibi-kubernetes]$ kubectl get pods -A
NAMESPACE        NAME                                  READY   STATUS    RESTARTS   AGE
kube-system      cilium-926qr                          1/1     Running   0          18m
kube-system      cilium-h67rj                          1/1     Running   0          18m
kube-system      cilium-k227h                          1/1     Running   0          18m
kube-system      cilium-node-init-7pvjv                1/1     Running   0          18m
kube-system      cilium-node-init-mfggd                1/1     Running   0          18m
kube-system      cilium-node-init-pjsrz                1/1     Running   0          18m
kube-system      cilium-node-init-x6mph                1/1     Running   0          18m
kube-system      cilium-operator-f5f898898-79tg9       1/1     Running   0          18m
kube-system      cilium-operator-f5f898898-hqngh       1/1     Running   0          18m
kube-system      cilium-rjgwk                          1/1     Running   0          18m
kube-system      coredns-74ff55c5b-876dr               1/1     Running   0          16m
kube-system      coredns-74ff55c5b-gtl5d               1/1     Running   0          16m
kube-system      etcd-k8s-master1                      1/1     Running   0          18m
kube-system      hubble-relay-544876fc89-dzbvm         1/1     Running   0          18m
kube-system      hubble-ui-5df5fb587d-m6kv7            3/3     Running   0          18m
kube-system      kube-apiserver-k8s-master1            1/1     Running   0          18m
kube-system      kube-controller-manager-k8s-master1   1/1     Running   0          18m
kube-system      kube-scheduler-k8s-master1            1/1     Running   0          18m
metallb-system   controller-8687cdc65-xbxfl            1/1     Running   0          18m
metallb-system   speaker-hkrwr                         1/1     Running   0          18m
metallb-system   speaker-hnkk2                         1/1     Running   0          18m
metallb-system   speaker-q6nsl                         1/1     Running   0          18m
metallb-system   speaker-thd8t                         1/1     Running   0          18m
traefik          traefik-77fdb5c487-5ffkl              1/1     Running   0          18m
Eyecandy
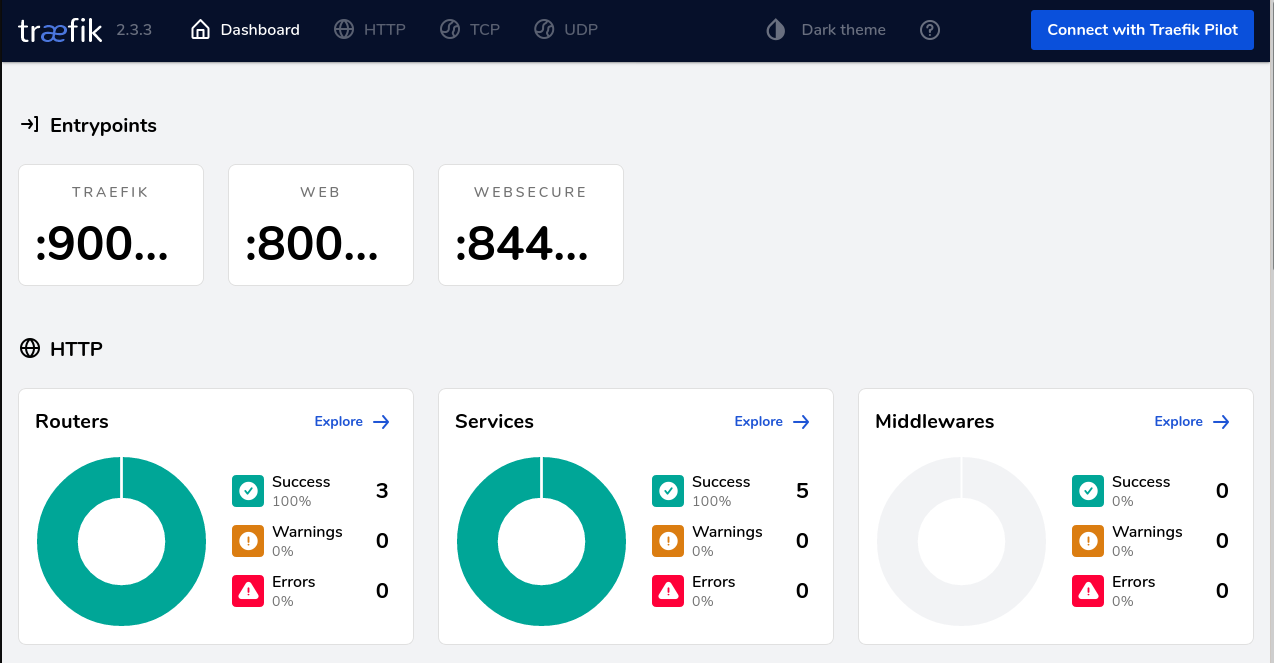
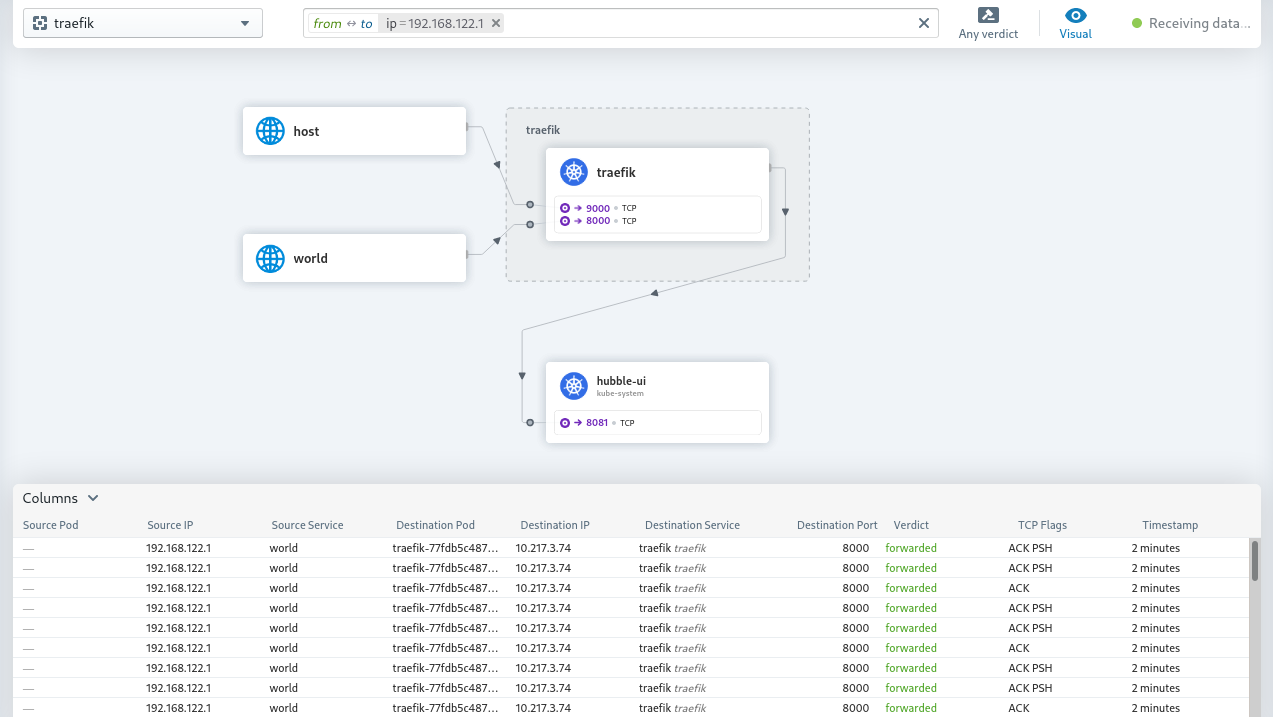
When the installation is done, the Traefik and hubble-ui dashboards are visible on the addresses http://traefik.example.com/dashboard and http://hubble.example.com or on the addresses you configured yourself. You can add those addresses with the external ip address (see kubectl -n traefik get svc traefik) to your /etc/hosts file to make them reachable by address from your workstation.
Traefik dashboard
Hubble dashboard
It can happen that direct after the installation the dashboards do not work, the fix is easy, just reboot your cluster once, or delete the traefik pod and the hubble-ui pod so that they will be (automatically) created again.